Employer Online login changes are coming soon
12 September 2025
 You may have seen on our website that we’re upgrading security and improving some features in Employer Online.
From Monday, 29 September 2025, you will need to verify your identity using what’s known as multi-factor authentication (MFA) to log in to your account.
We’re also making it easier to enter contributions and create self-managed super funds in Employer Online. However, the way you submit contributions to us won’t change.
Here’s what you need to do to access your account and the updated features.
What is multi-factor authentication (MFA)?
MFA is when you use two or more different methods or ‘factors’, such as a password and a code, to verify your identity when accessing an online account. It helps to protect your online accounts by making it harder for unauthorised people to gain access.
How to log in to Employer Online
From 29 September, all users will need to provide a random ‘one time’ verification code, in addition to a password, to log in to Employer Online.
To do this, each user will need to set up an authenticator app, such as Microsoft Authenticator or Google Authenticator, on their personal mobile device.
Download an authenticator app
To download your chosen app:
- Go to your mobile or tablet device's app store
For Android, this is the Google Play Store, and for iPhones/iPads, it's the Apple Store. - Search for the service, for example ‘Microsoft Authenticator’
- Download and install the app on your device
Learn about why personal devices are used for MFA.
Set up MFA for your account
The first time you log in to Employer Online after the upgrade, you will need to set up MFA.
- Go to the Employer Online log in page and enter your employer number, user ID and password
- Open your authenticator app and choose the option that will allow you to scan a QR code
Example - Microsoft Authenticator app - Employer Online will display the QR code. Use your device to scan this code
- The authenticator app will display a code, which you will need to enter into the ‘verification code’ field in Employer Online. Click ‘submit’
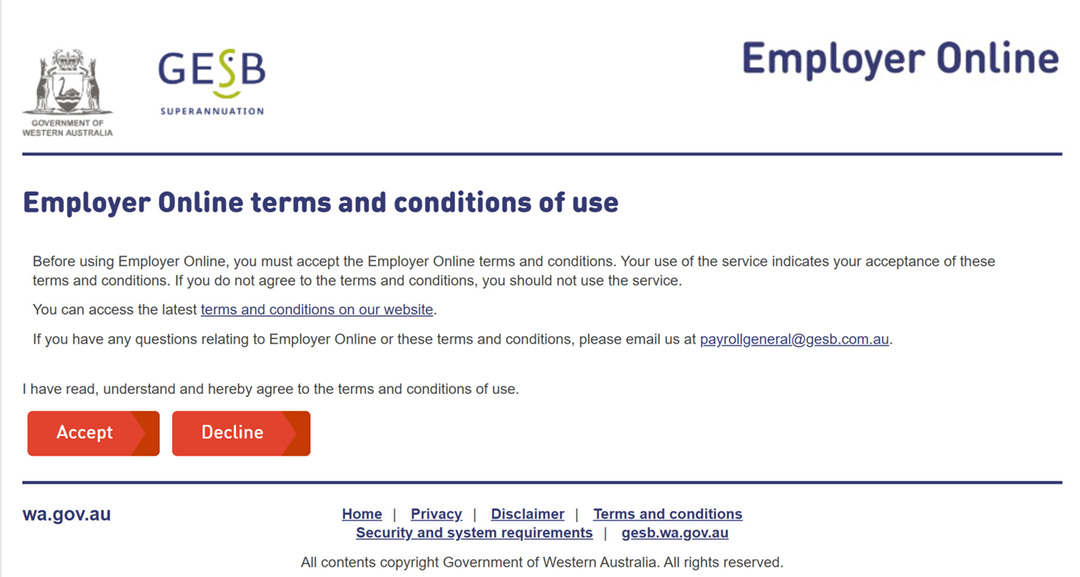
Using a QR code to set up MFA in Employer Online - You will be directed to a Terms and conditions of use page. If you agree with these conditions, click the ‘Accept’ button. If you click the ‘Decline’ button, you will not progress beyond this point
Employer Online terms and conditions of use


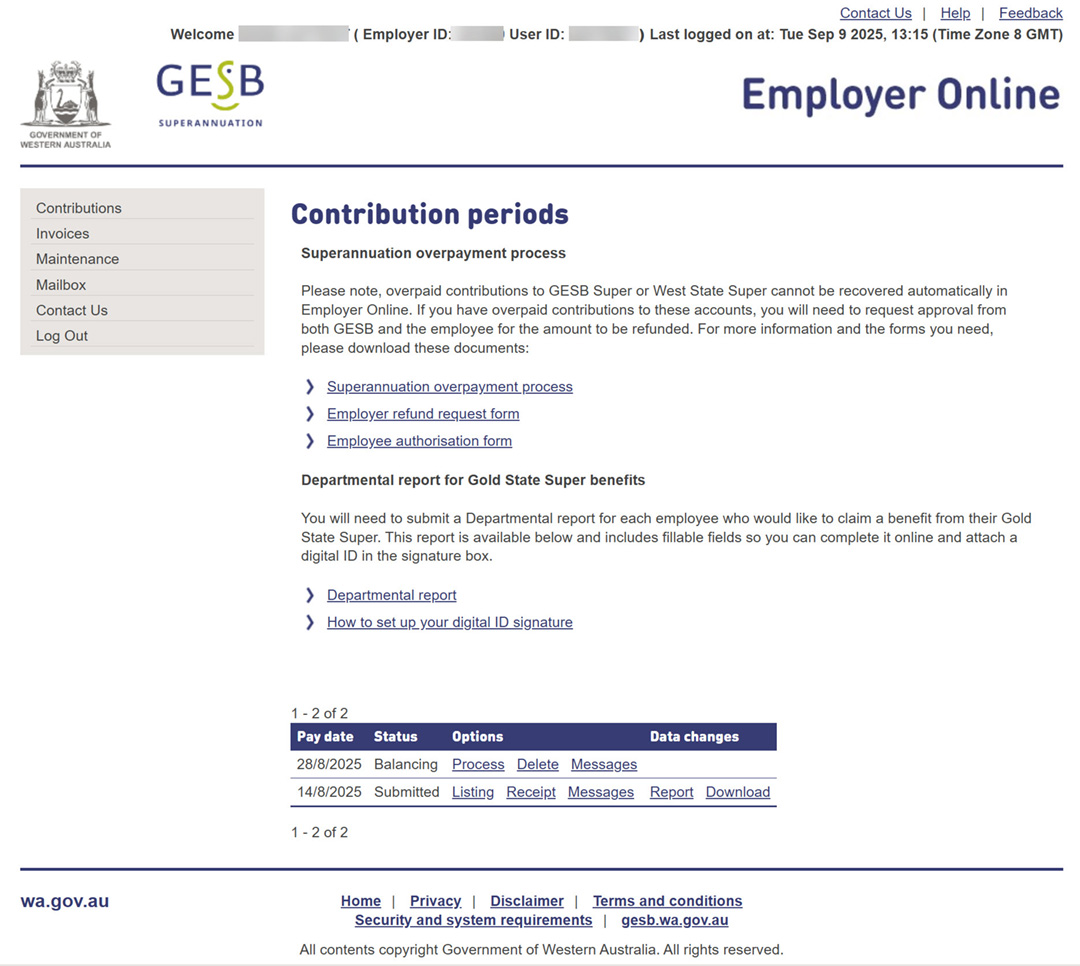
Once you have set up your MFA and accepted the terms and conditions, you will be logged into Employer Online. You will see the processing pages as usual.
Employer Online processing pages
Log in Employer Online with MFA
In future, logging in to Employer Online will be quicker:
- Log in with your employer number, user ID and password
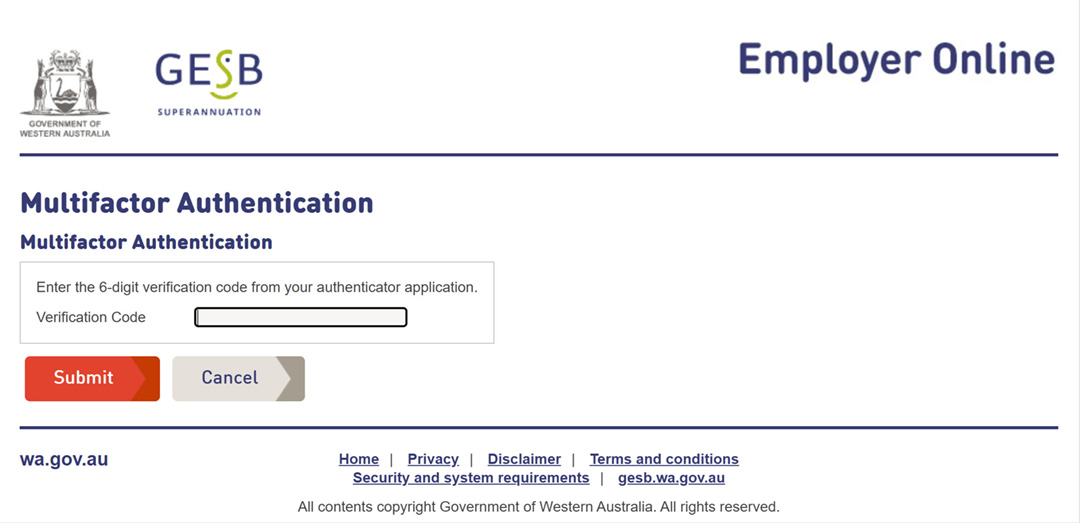
- You will be prompted to enter a verification code. Use the authenticator app on your personal device to find this 6-digit code
Entering a verification code to log in to Employer Online - Enter the code and click ‘submit’
You should now be successfully logged into Employer Online.
If you are unable to log in to Employer Online, please contact our Payroll General team for help.
Entering contributions will be easier
The contributions grid has been simplified, with the fields for your employees’ contributions, personal, employment and account information split into separate tabs, so they are easier to complete.
Employer Online contributions grid – new tabs
When you select the ‘I’ button, you will see a summary of the contributions information for each employee.
Employer Online contributions grid – ‘I’ button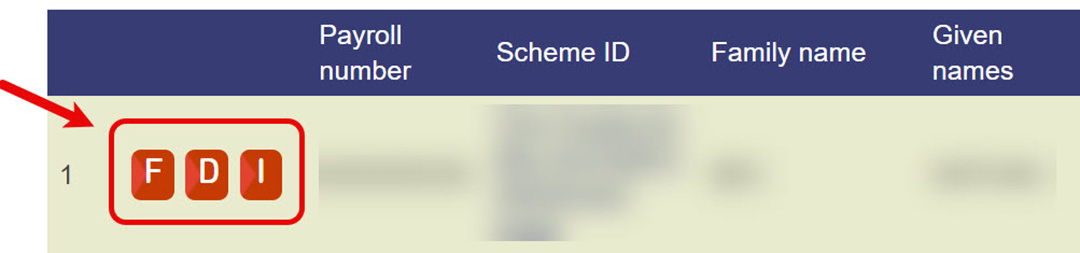
Employer Online contributions grid – Member details view
New tabs have also been added to the contributions grid to allow you to easily switch between tasks.
Self-managed super funds can be created automatically
If you are contributing to a self-managed super fund (SMSF) on behalf of your employees, this process will soon be easier.
You will be able to automatically create an SMSF in Employer Online by uploading a SuperStream Alternative File Format (SAFF) file with these mandatory details:
- ABN number
- BSB
- Account number
- Account name
- Electronic service address (ESA)
The import function will automatically look for an email address for the fund in the information provided. Please note, this cannot be the same as the ESA’s email address.
Once the details above are provided, the SMSF will be created in Employer Online. If information is missing or any of the data isn’t unique, you will see the ‘unmatched funds’ list on the import fund summary page, which will need to be resolved manually as usual.
Employer Online – import fund summary page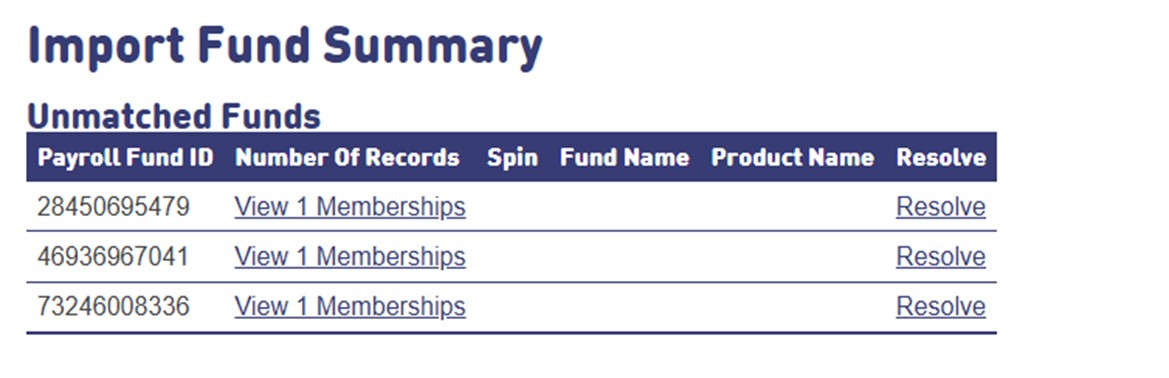
Important note: entering SMSF bank account details
When providing bank details for SMSFs, you must either:
- Enter the correct bank details for the SMSF in the SAFF file, or
- Leave the SAFF file blank and update the bank details manually in fund maintenance details
We recommend providing correct bank details in the SAFF file, if possible, as this will make things easier by enabling auto-creation of the SMSF in Employer Online.
If SMSF bank details on the SAFF are not unique, an error will be triggered when saving the contributions grid.
Prior to the upgrade of Employer Online, the SMSF bank details provided in the SAFF file were not validated. Some payroll systems pre-populated the SMSF’s bank details fields with GESB bank details. As they were not previously validated, it did not generate an error.
If the SAFF file has been uploaded, SMSF bank details will be updated with what has been supplied on the file. If GESB bank details have been used for a SMSF, the automatic SMSF creation process will trigger a ‘same bank details’ error.

| Row | Severity | Message |
|---|---|---|
1 | Error | Please contact GESB. The following SMSF share the same bank account details: SMSF FUND NAME AND ADDRESS |
You will not be able to submit until the errors are corrected.
To fix the error you must either:
- Enter the correct bank details for the SMSF in the SAFF file, or
- Update the bank details manually in fund maintenance details (and reselect the Electronic Service Address, if prompted)
If you need help please contact us.
Need more help with Employer Online?
If you have any questions about the upgrade, or need any help with uploading your payroll file, please contact Payroll General.
Thank you for printing this page. Remember to come back to gesb.wa.gov.au for the latest information as our content is updated regularly. This information is correct as at 27 July 2026.